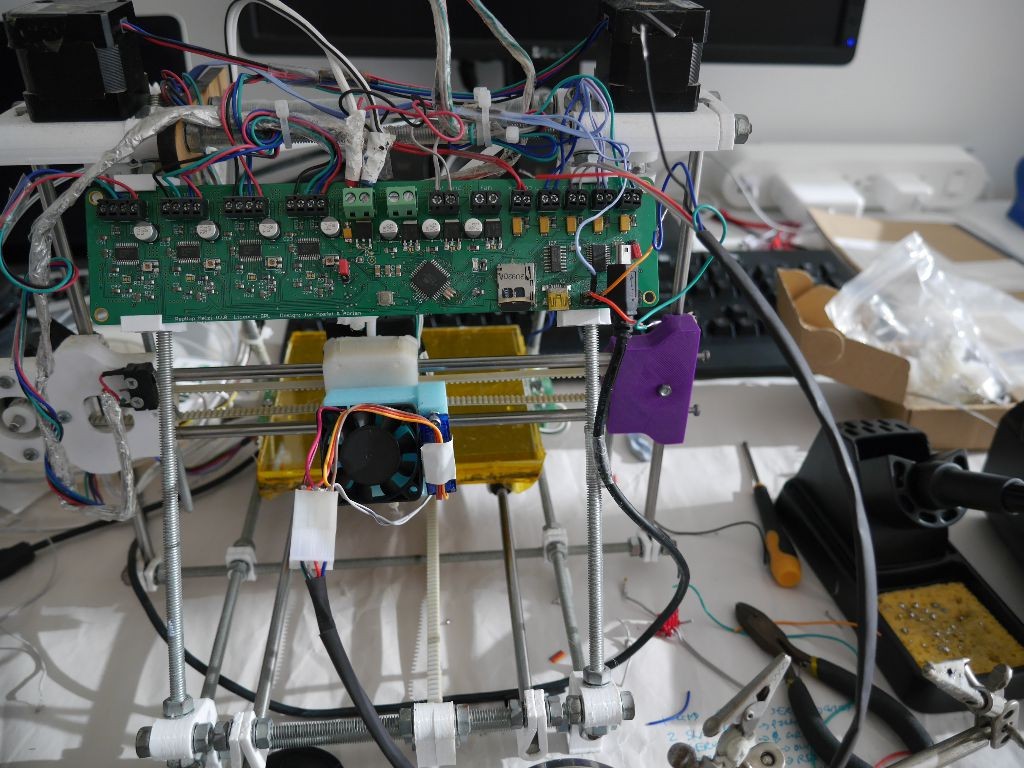
In the last couple of posts I described how I put a z-probe onto Squirty the RepRap. Adding the z-probe meant new wires. These wires ended up jumbled all over the place and occasionally got caught on the z-axis threaded rods, causing all manner of chaos to break out. The z-probe also requires a lot of clearance, which means that the printer carriage spends more time up at the top of the build area than it used to. Once up there, it has a nasty habit of bumping into the Melzi control board. To try and tidy things up, I collected all the wiring for the z-probe and ducted fan components together and designed a new set of Melzi holding clips.
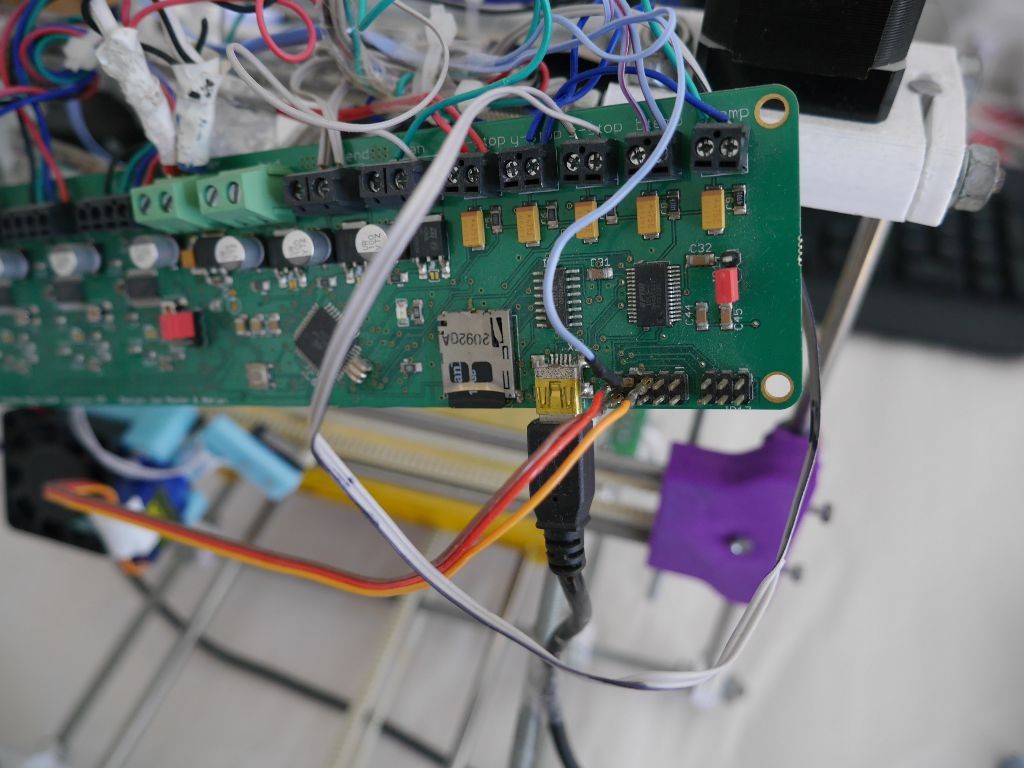
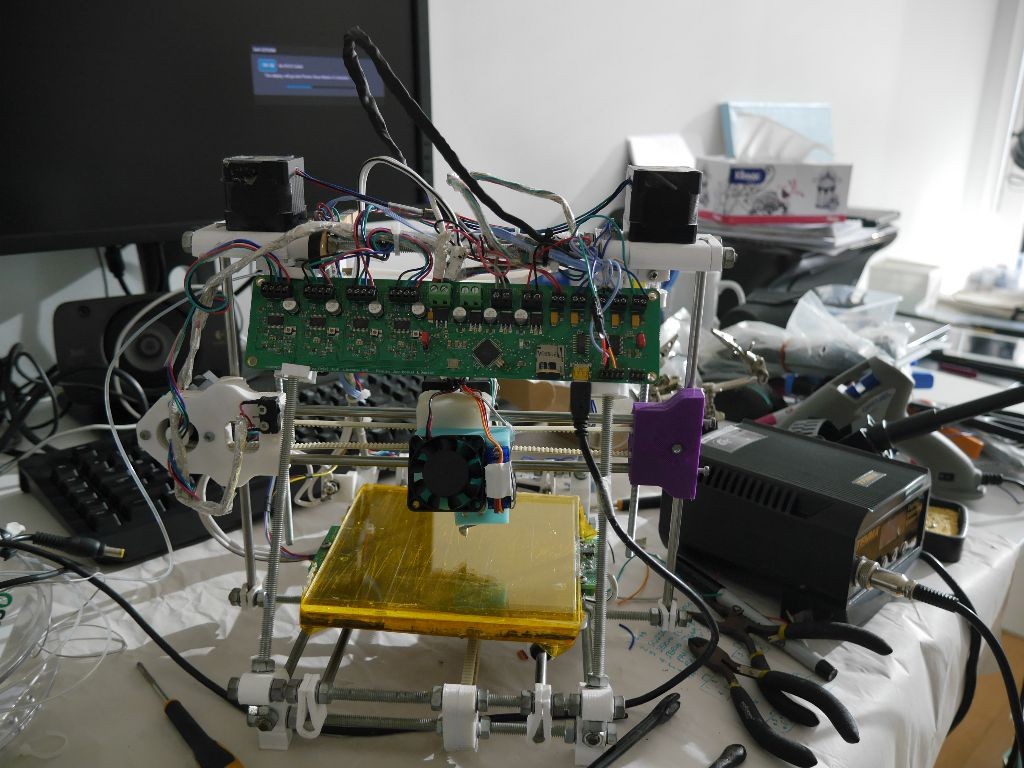
Melzi holder
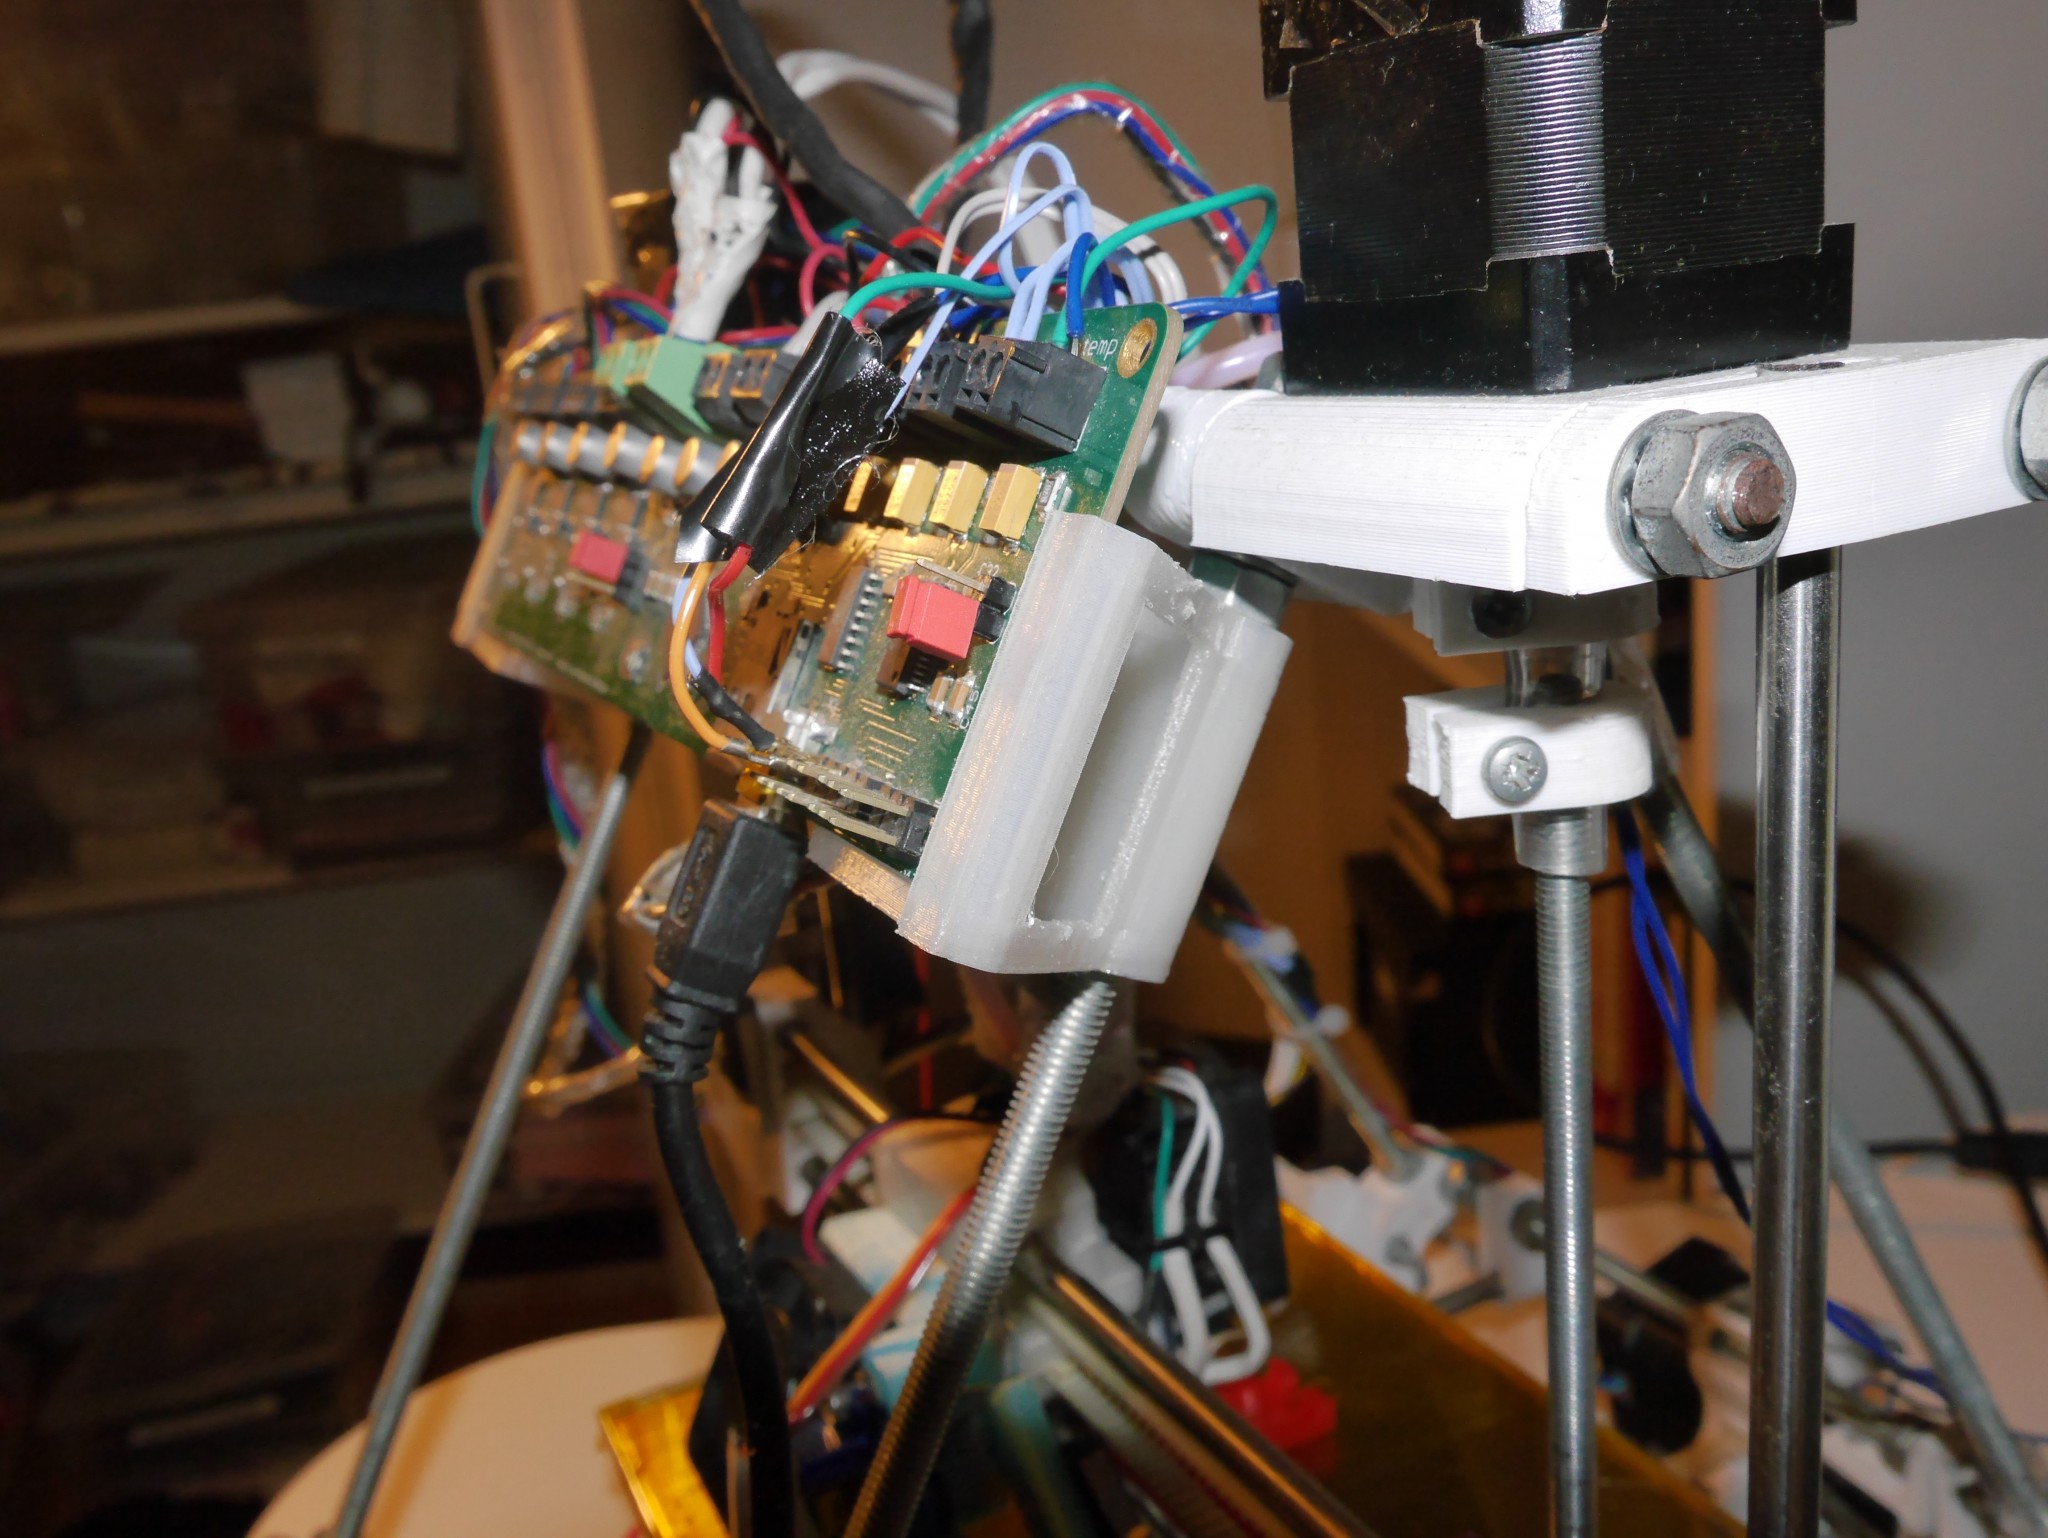
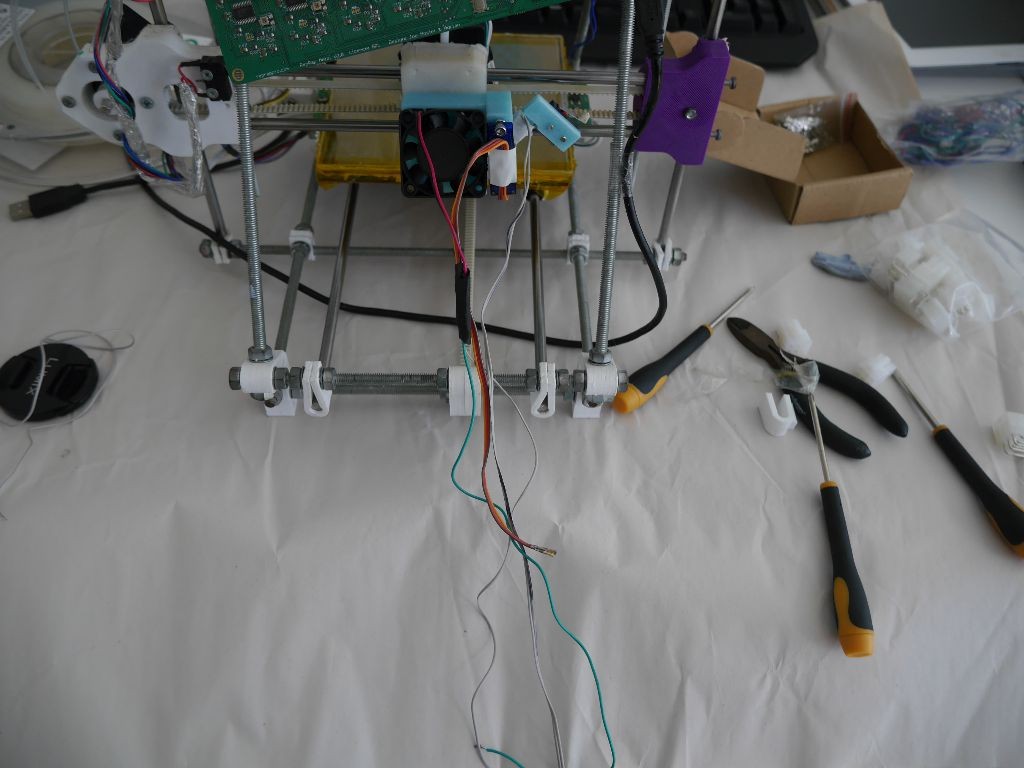
The picture above shows the carriage scraping along the bottom of the Melzi (the circuit board that controls the printer). This is a Bad Thing. To stop this from happening I redesigned the clips that hold the Melzi to the frame so that there the board is held further away from the printer. The new clips also have the advantage of gripping the frame more securely than the original design.

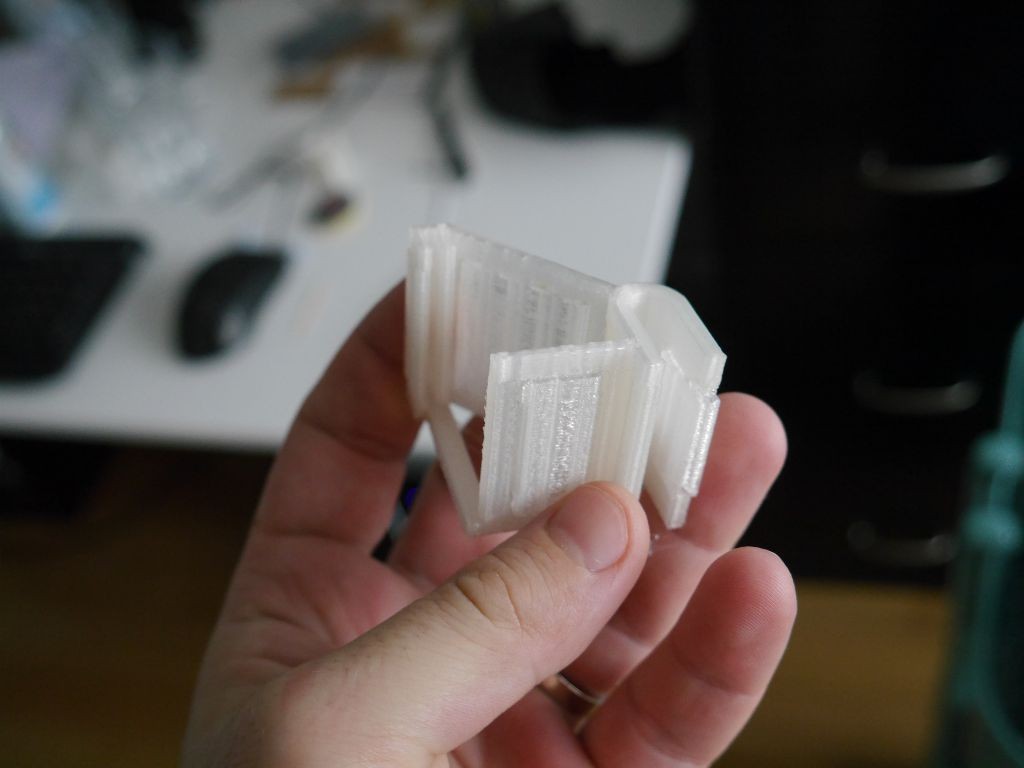
I designed the clips in OnShape. I made them with a void in the middle, so they could only be printed with support for the overhang. Slic3r had been unable to generate support material that will work with my 0.3mm nozzle, so I decided to give Cura a go. I copied across my settings from Slic3r and it worked first time, I think I’ll stick with it for all my slicing needs in future.
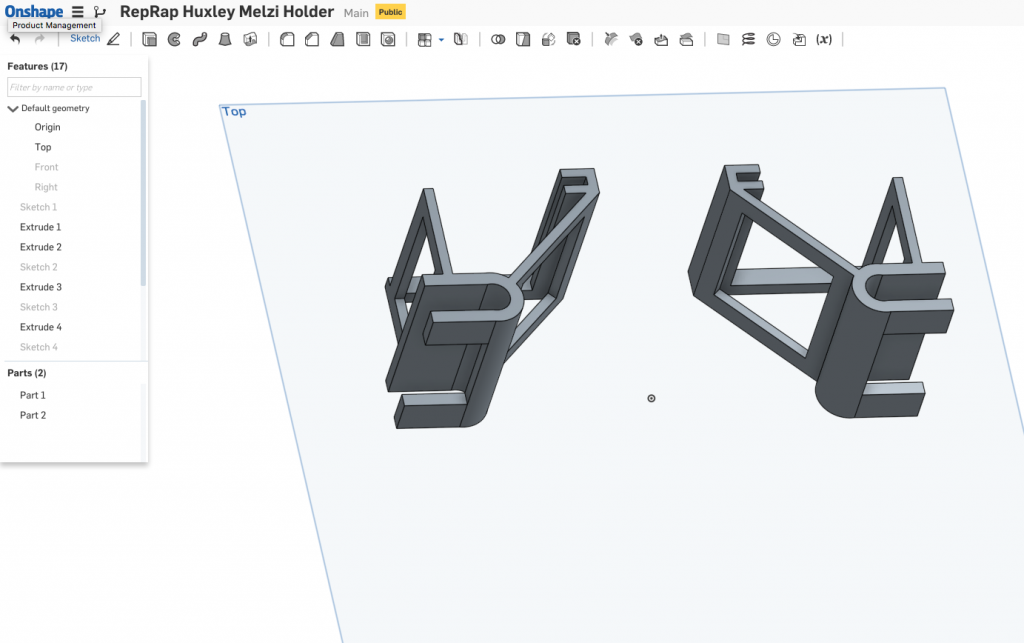
The Melzi holders are on Thingiverse for any old-style Huxley users who might find them useful. The OnShape design is also public. I don’t know how to share it with a link but you should be able to find it by searching for “RepRap Huxley Melzi Holder” within OnShape.
Wiring
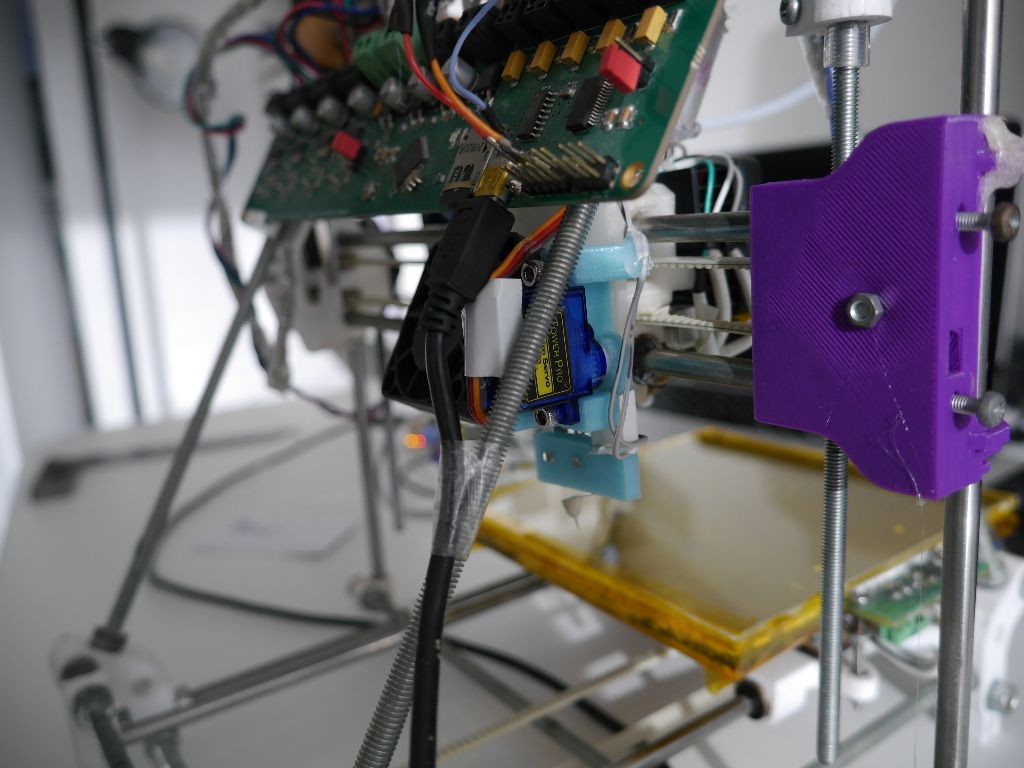
When I changed from a 0.5mm nozzle to a 0.3mm nozzle I put the wiring for the heater, thermistor and fan through a 6 connection molex connector. The idea was to make it easier to remove the hotend and potentially swap it out for a different one. I decided to do the same thing for the ducted fan and the z-probe. The only problem was that there were 7 wires: 3 for the servo, 2 for the ducted fan, 2 for the microswitch. This was one too many for the molex connector. When I checked the Melzi with a continuity tester I confirmed that the ground pin for the microswitch was connected to the ground for the servo, so I solved the problem by splicing the microswitch and servo ground wires together before soldering them to a single pin on the connector. According to the continuity tester there was no connection between the fan ground and the other ground connections, so I kept these connections separate.
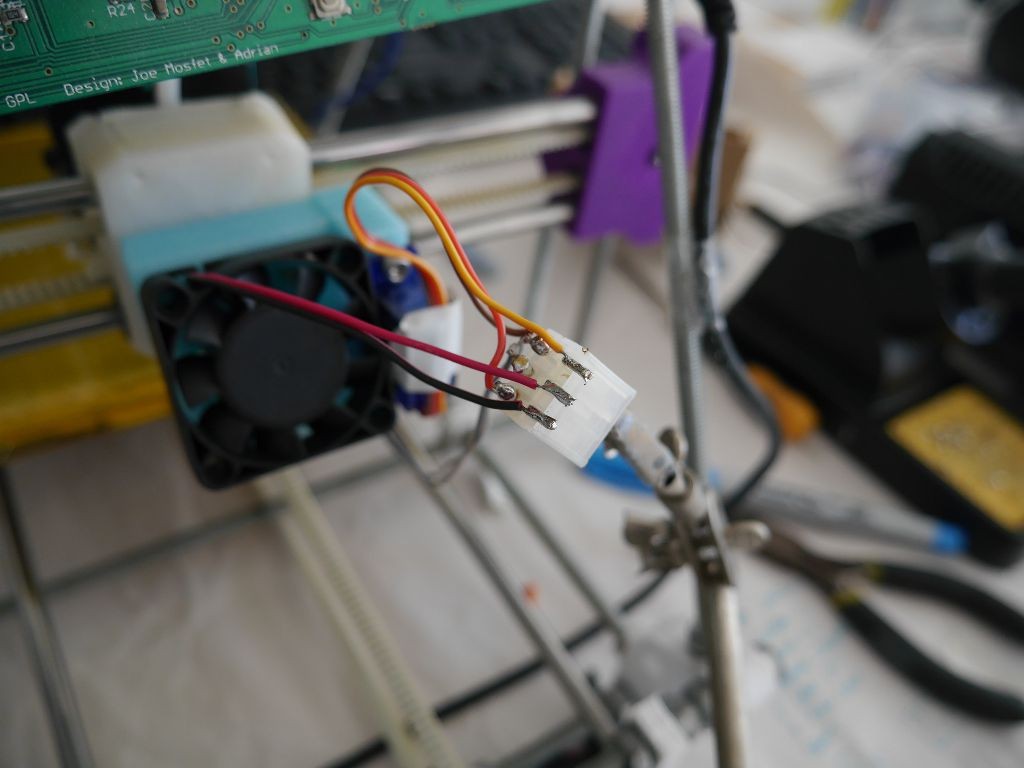
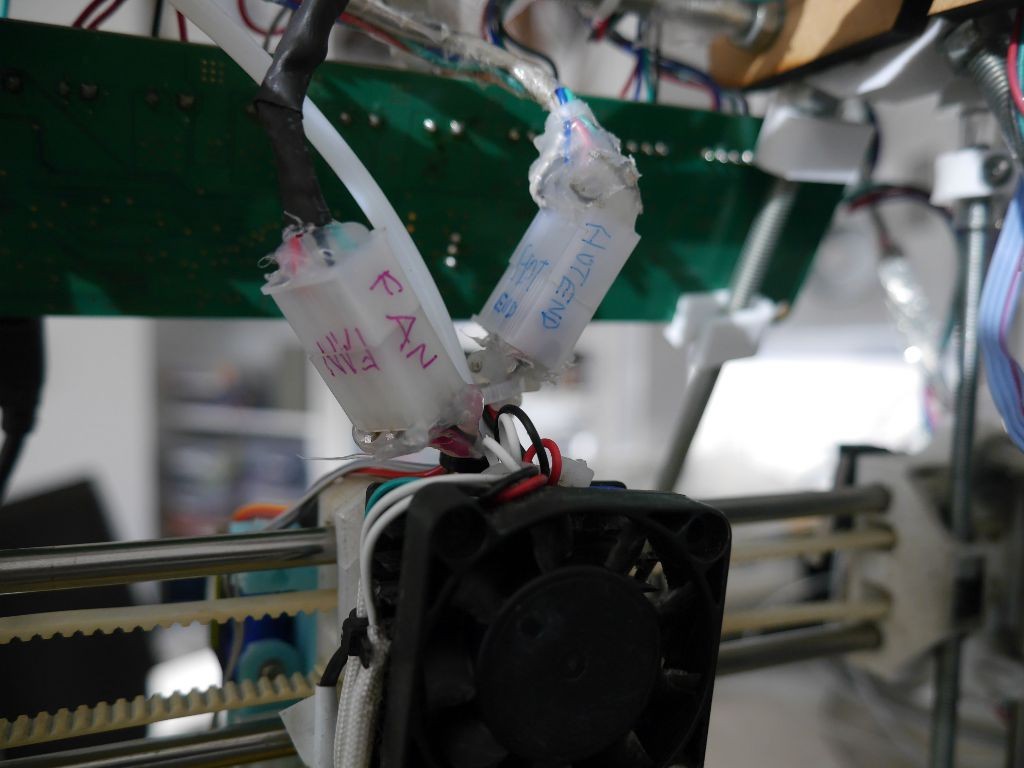
Wiring is dull, but necessary
My relationship with Squirty tends to go in a cycle where I’ll print lots of stuff with minimal faff, and then just when I start to think of printing as routine, parts of her will start to fall off or break. The loose wires getting tangled around the z-axis is a good example. Once the wires get tangled in the mechanism, one z-axis will turn more than the other and I need to take everything apart to re-level the x-axis. If that happens a couple of times I’ll probably pack the printer away in frustration and leave it there until I forget how irritating the problem was. Redoing the wiring is not the most exciting project, but it does mean there is one less way for the printer to break itself, and that makes me more likely to spend time doing more interesting projects with it.