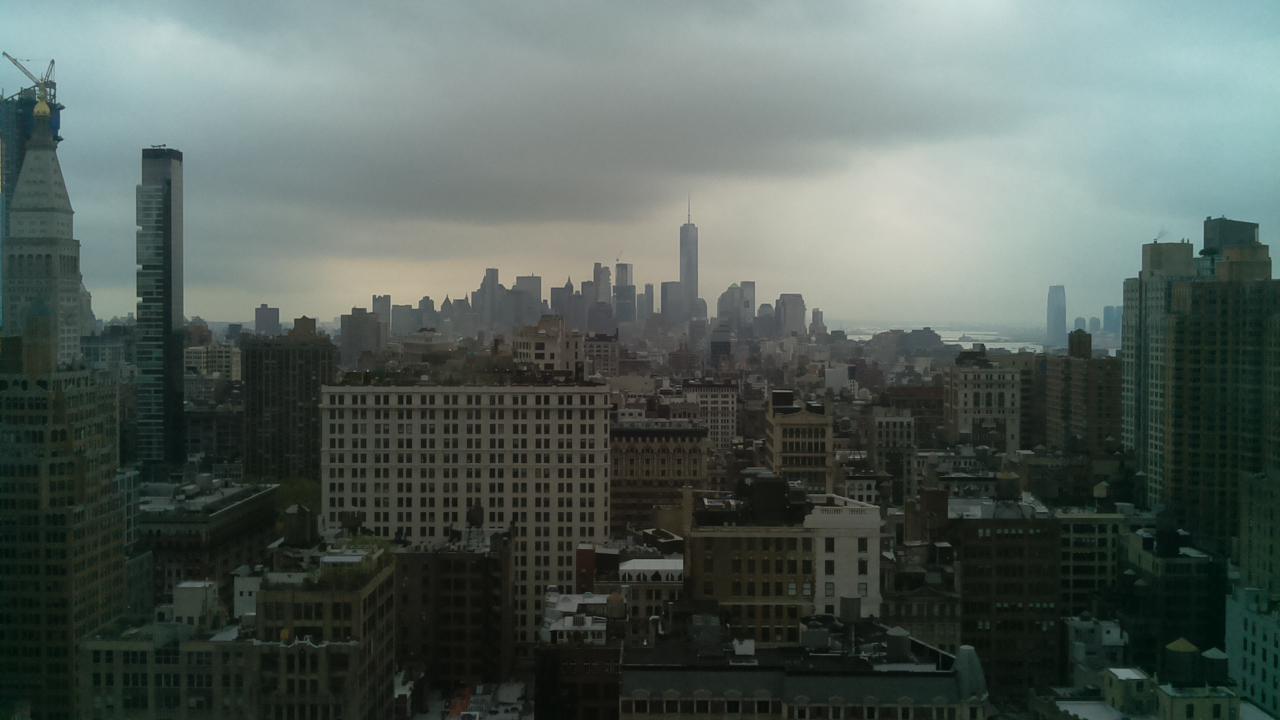
I’m much better at acquiring kit for projects than I am at building them, so I tend to have a lot of Raspberry Pis lying around. I’m very lucky to have access to a beautiful view of the New York skyline at the moment, so I thought one good use (partially inspired by the House of Cards opening sequence) would be to do a timelapse of the cityscape.
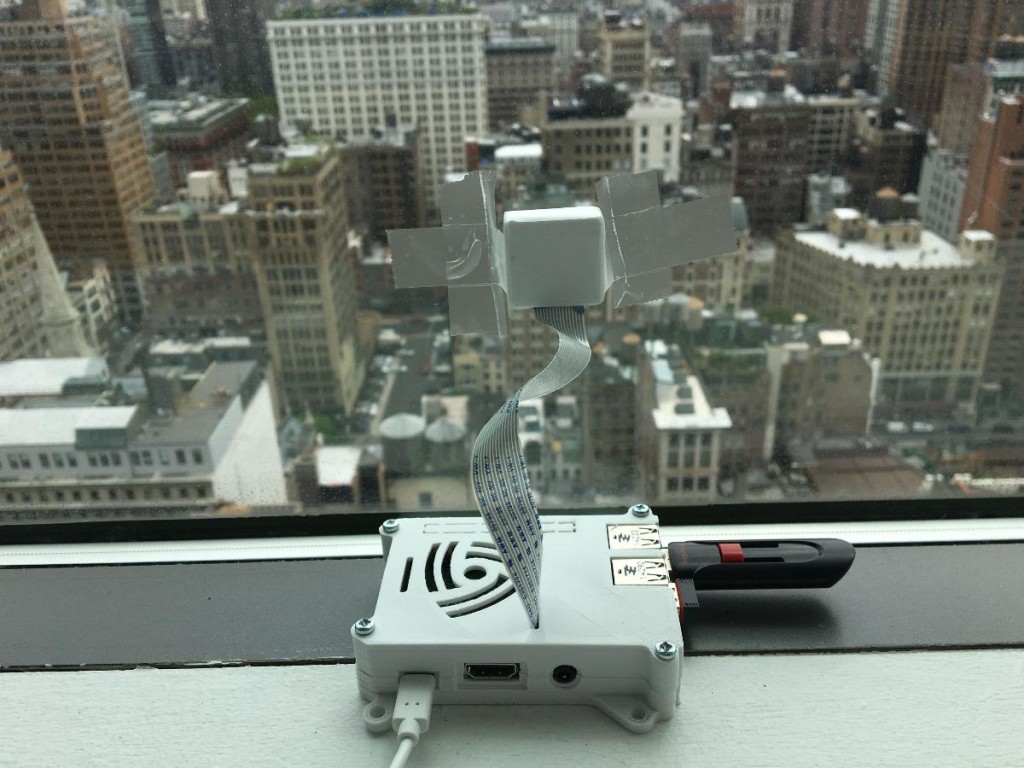
To do this I used the Raspberry Pi camera module. I printed this case for the camera and this one for the Pi itself. I needed the camera case to shield the lens from any light from inside the building. Once the camera was mounted in the case I stuck it to the window with some tape. I used a Raspberry Pi B+, so I didn’t need a powered USB hub to attach a wifi dongle and 4 GB memory stick.
For setting up the software I followed the instructions in this post from H4hacks. He explains how to set up a thumb drive to save the pictures and provided a modified version of a python program developed by Craig Thomas. The program is needed to adjust the exposure settings of the camera so that it can capture shots at night as well as during the day. One extra thing I had to do was to tell the Raspberry Pi to turn the camera module LED off, as otherwise it would spoil the night shots with a red reflection. There are instructions on disabling the LED here. I tried to make it so that I could read the memory stick on a mac as well as on the Pi, but after a while admitted defeat and formatted it as a linux file format.
Taking one picture every minute, the Pi filled up the memory stick in about a week. The video below shows the result, sped up 6000 times (I used 100 fps when doing the video encoding) and with dramatic music.
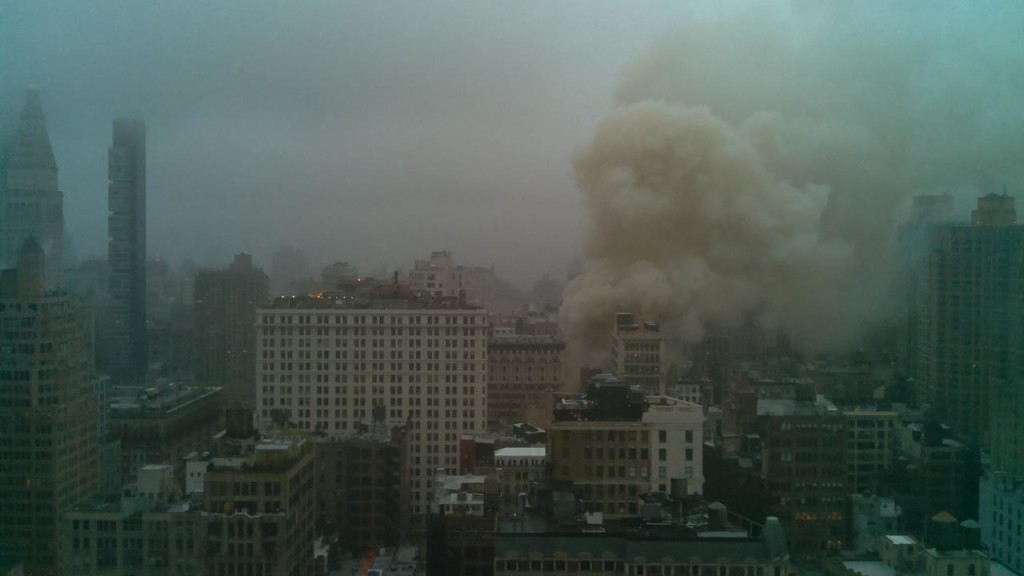
On the day I started taking the snapshots there was a big fire at a church a few blocks south (no-one hurt, fortunately). You can see the fire around 00:10.
To make the video I downloaded the stills to a mac using filezilla. They were saved in a YYYY-MM-DD-hhmmss format. I converted the filenames into a sequence of zero-padded 5 digit numbers using this command…
find . -name '*.jpg' | sort -n | awk 'BEGIN{ a=0 }{ printf "mv \"%s\" %05d.jpg\n", $0,a++}' | bash
…and then encoded them with ffmpeg like this…
ffmpeg -framerate 100 -i %05d.jpg -c:v libx264 week.mp4
One problem I had was that two of the daylight periods were entirely made up of green images like the one below, I deleted these from the sequence used to make the video.

I’m not sure what happened here. At first I thought it might be that the connection to the camera had come loose, but it seemed to transition to the series of green images at sunrise and then go back to normal images at sunset. My current theory is that the exposure settings were too high for two particularly bright days, although I don’t see why that would have created a green image.
I’d quite like to do this over a year to see if I can get some of the seasonal changes, but it might be too static to be interesting. It would also be nice to do another timelapse at night on a clearer night and see if I can get some star movement.