Melzi holder and new wiring

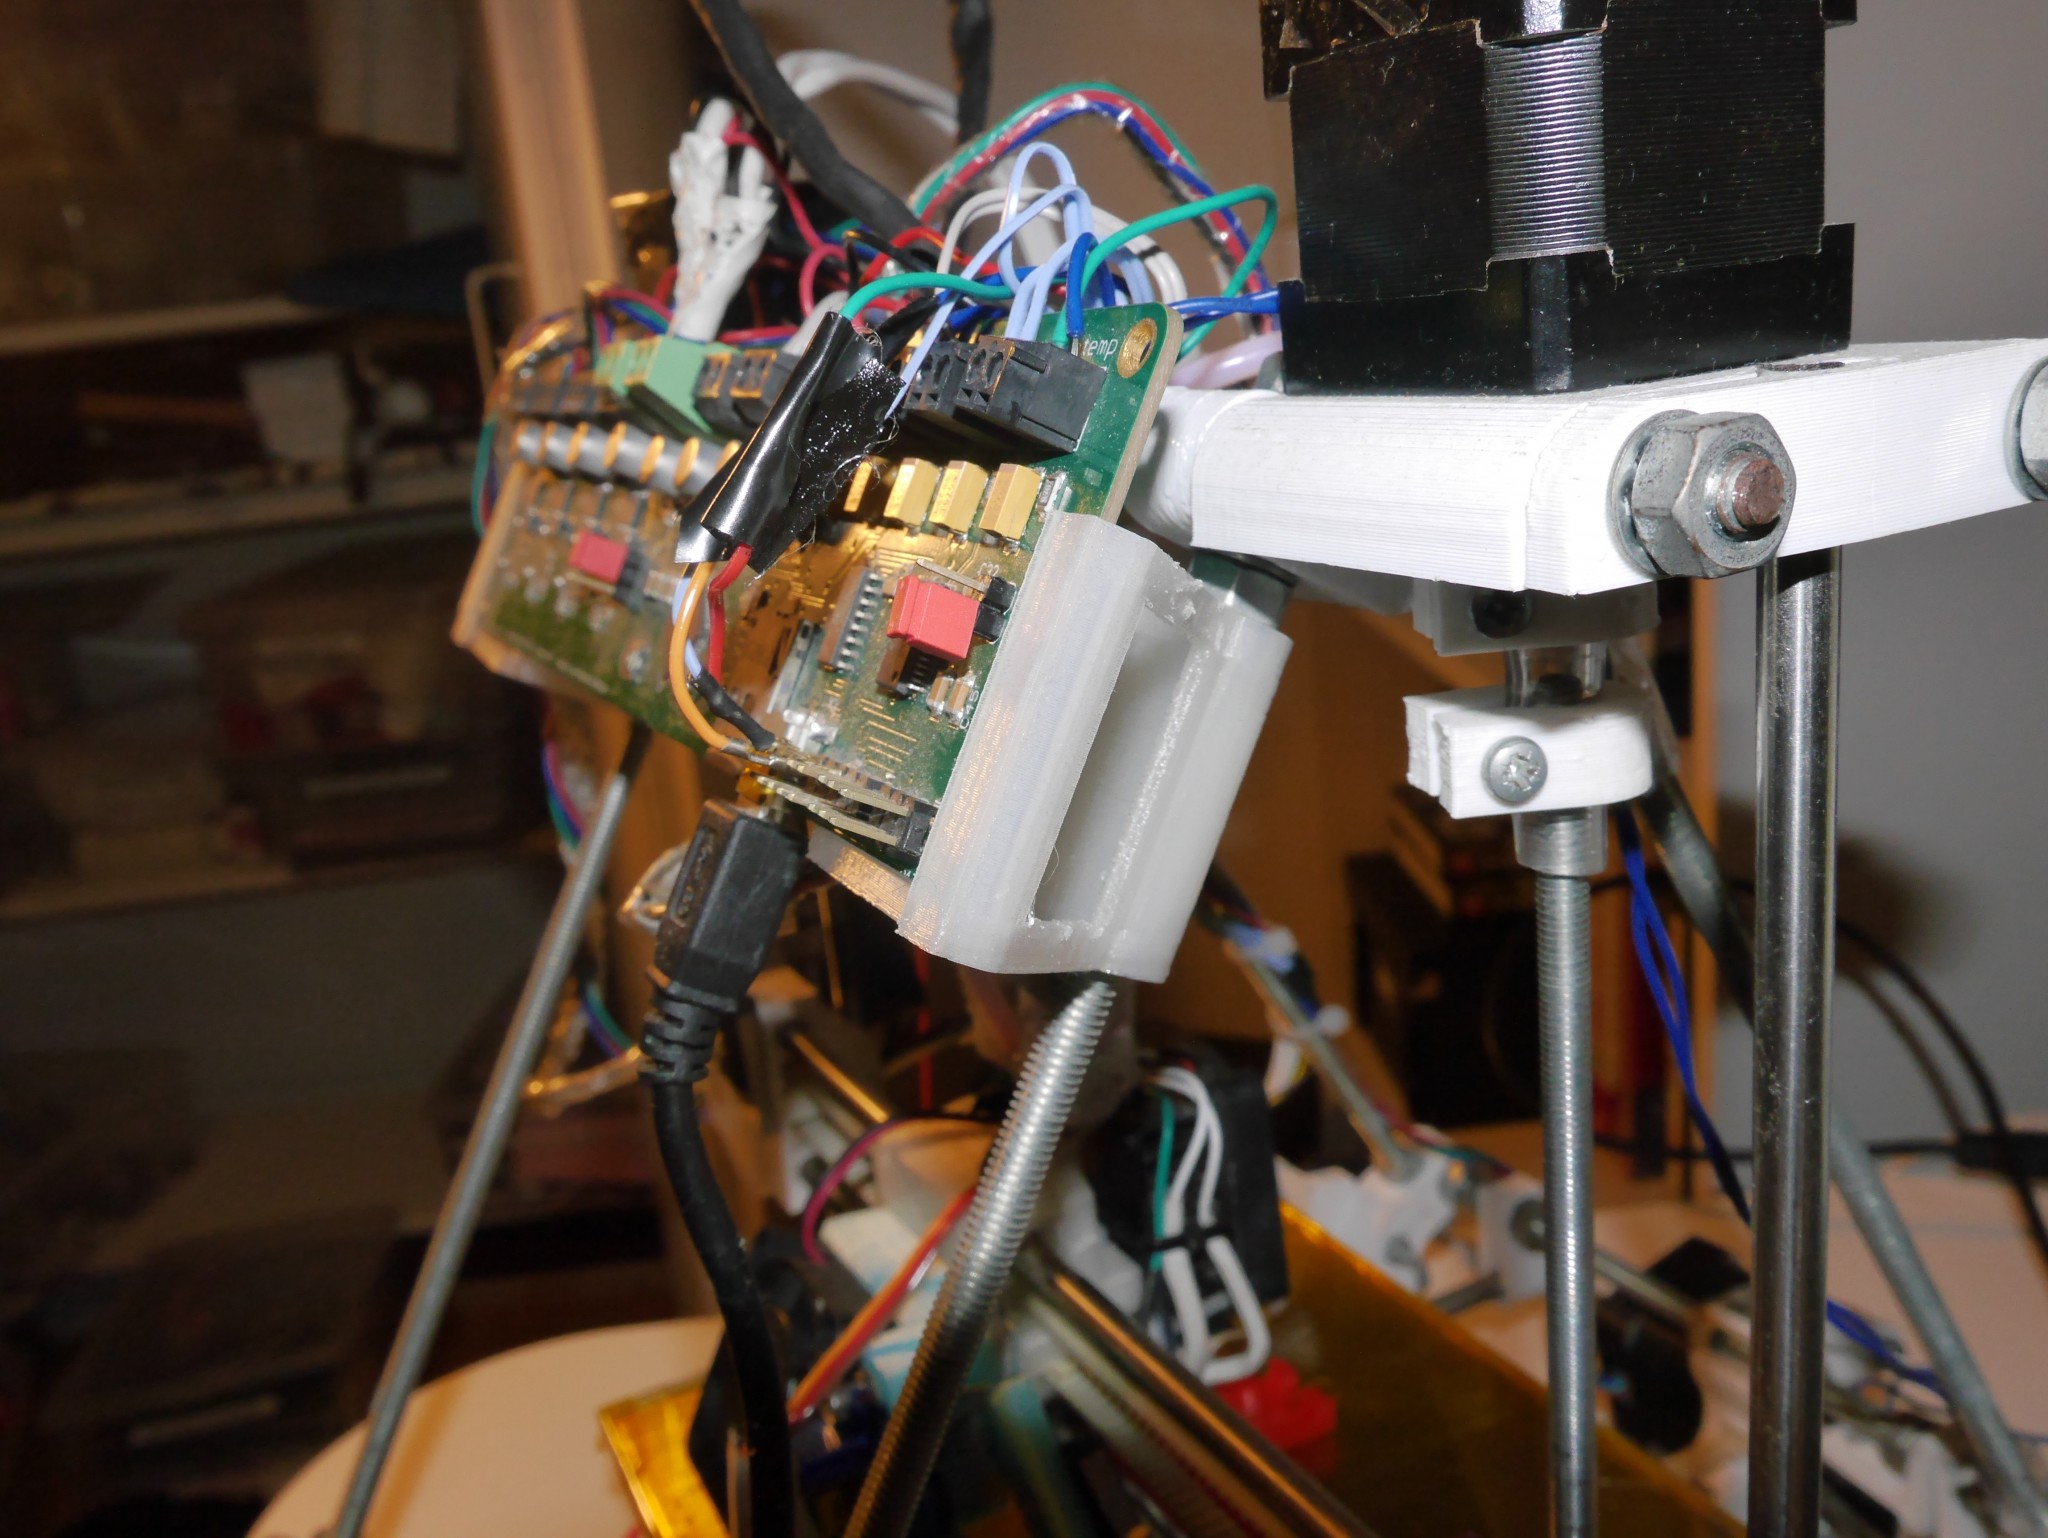
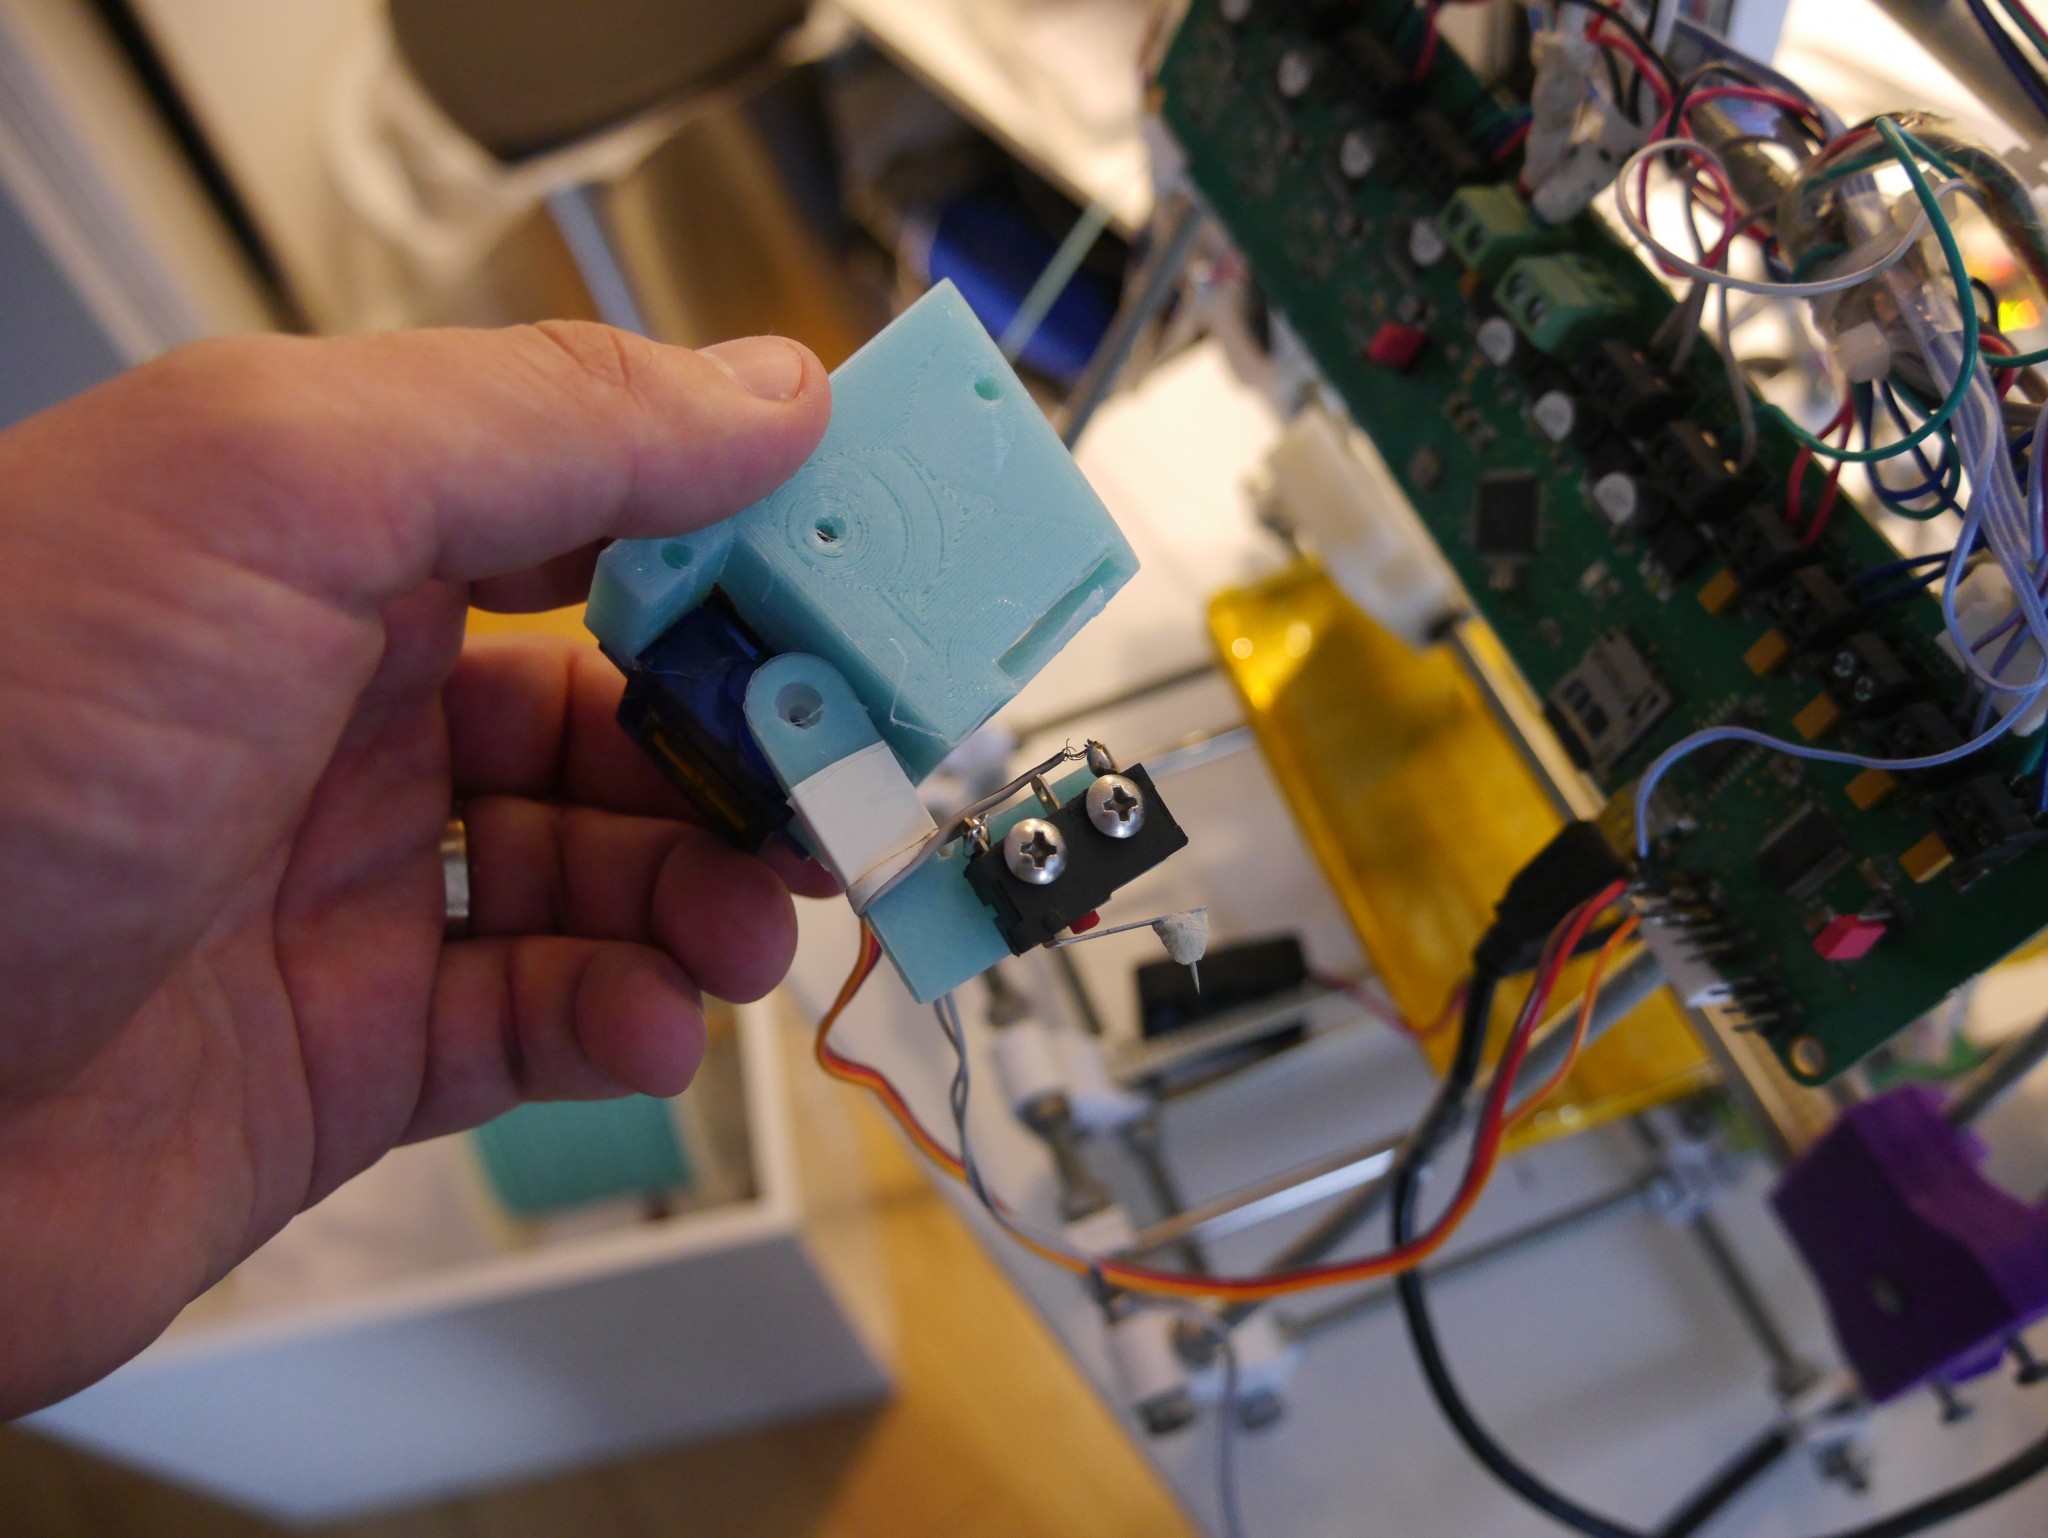
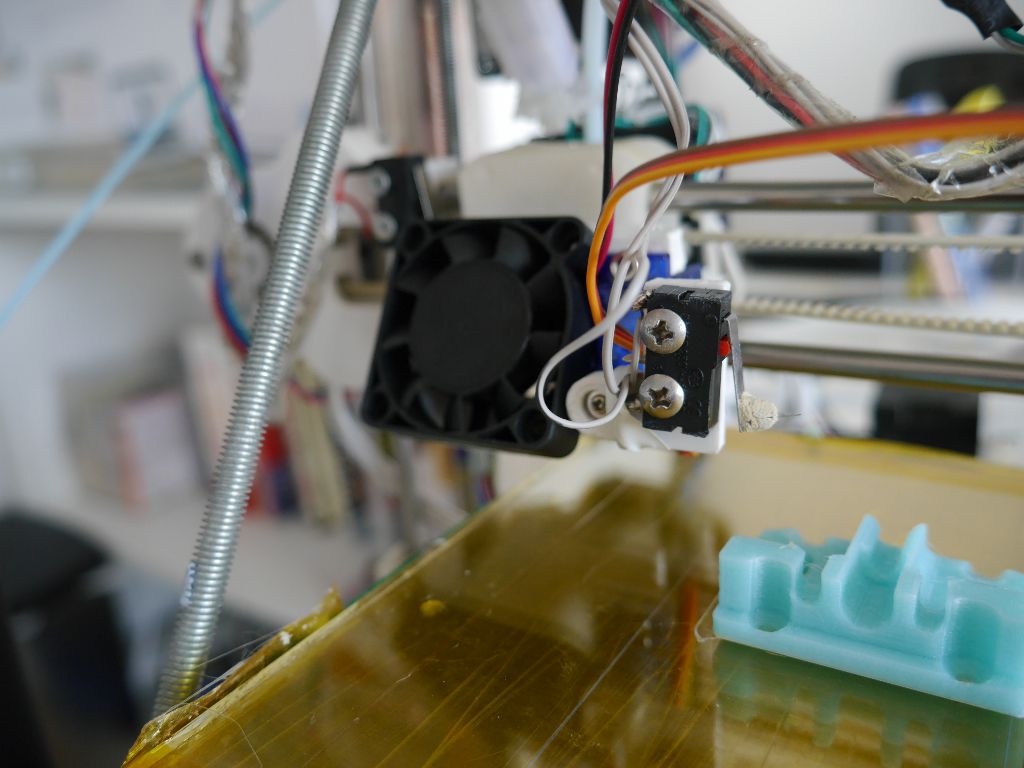
In the last couple of posts I described how I put a z-probe onto Squirty the RepRap. Adding the z-probe meant new wires. These wires ended up jumbled all over the place and occasionally got caught on the z-axis threaded rods, causing all manner of chaos to break out. The z-probe also requires a lot of clearance, which means that the printer carriage spends more time up at the top of the build area than it used to. Once up there, it has a nasty habit of bumping into the Melzi control board. To try and tidy things up, I collected all the wiring for the z-probe and ducted fan components together and designed a new set of Melzi holding clips.

Continue reading

Z-probe V2: Autoleveling

Following on from the previous post I redesigned the z-probe holder to position the microswitch closer to the nozzle. I also forked the latest version of the Marlin firmware to correct some problems I was having with the leveling behaviour. The video below shows that the autoleveling seems to be working, but I need to do some checks to understand how successfully it is correcting for any tilt in the bed. I also need to make further design changes to the z-probe itself. This post includes more details on how I designed and set up V2.

Continue reading

Z-probe V1: The Gom Jabbar

By far the most frustrating part of 3D printing with Squirty the RepRap has always been the strange dance you have to do to get the Z distance correct. I use a strip of paper and carefully pull it back and forth underneath the nozzle while trying to bring it close enough to the bed so that the paper just starts to rub against the nozzle. At that point you can use a command to tell the printer what the offset between the Z endstop and the bed is. It is a massive pain, and this assumes that the bed is level, which it rarely is. To level the bed you need to repeat something like this at multiple points while making fiddly adjustments to the three supporting bolts.
Continue reading

Creating Shells with OpenSCAD

Antony Monjauze had a question about whether OpenSCAD could be used to create a shell from an imported stl. At first I thought this wouldn’t be possible. It seems like to create a shell you would need to know something about the geometry of the stl you were importing, and OpenSCAD can’t tell you anything about what the dimensions of an imported stl are. However Henning Meyer’s comment on this thread explains how it can be done.
Continue reading

Hacking the Butler

My first hackathon was in April. It was fantastic experience. We came up with a cool product (1st Runner up!) and I also got to learn a lot, not just technical skills but also about how to approach product development and working in a technical team. I’m going to write two posts about the hackathon. This post describes what we made, the next one will talk about my learning points. Continue reading

Ducted Fan Part II and Octoprint

Last month I posted about installing a ducted fan on Squirty. After installing the fan I read issue 42 of MAKE magazine and became excited about two ideas to try for testing out the ducted fan. As is often the case, I got a bit distracted trying out these ideas so it’s taken me a while to get round to answering the original question of whether the ducted fan helps with print quality or not (short answer is yes, but more work needed for Squirty to match commercial desktop printers).
Continue reading