In my last post I wrote about the problems I experienced trying to print the dial gauge holder. The belt kept slipping out of the x-carriage causing the print to fail. Each time it failed I dutifully took the carriage apart and put the belt back. I even put some tape on the bottom side of the belt to thicken it and push it tighter against the teeth that hold it in place. After doing this I would take a look at my handiwork, pull the belt experimentally and feel certain that no force on Earth could cause it to come loose again. Then it would happen again. The belt that had seemed to be firmly gripped in the x-carriage would slip out as if there was nothing holding it in place at all.
There were a few clues that I should have picked up on that were telling me what was going wrong:
- When I took the x-carriage apart one time I noticed that the bar that the x-carriage roller bearings run on was warm
- The nozzle assembly was difficult to fit into the x-carriage and required a bit more force than usual when tightening the screws
- The failures seemed to happen when I first started printing, after I had left the nozzle to heat up
Any guesses?
The giveaway was when I looked at the carriage from the side and noticed that it was bent.
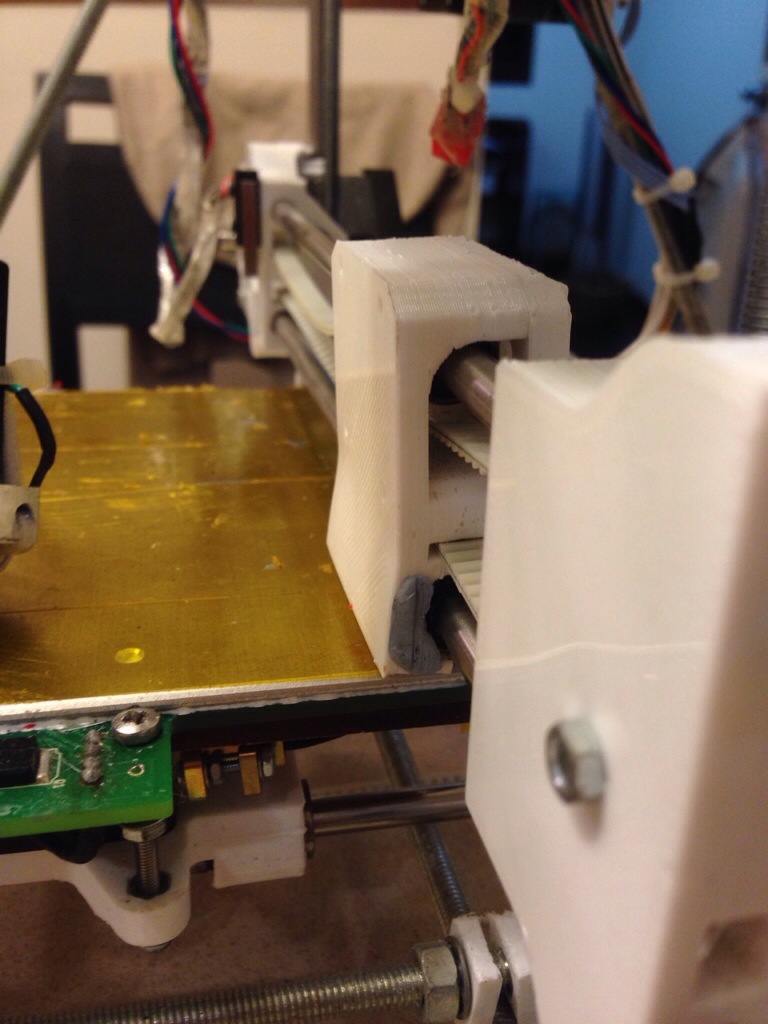
The blu tack holding the bearing in place has been there for some time and is harmless
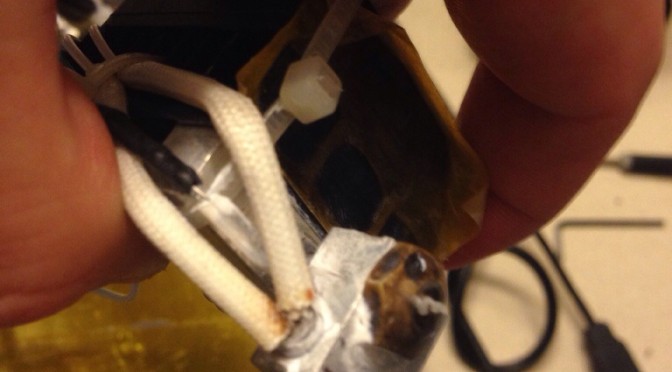
The nozzle on the Huxley is screwed into a small cuboid heater block. The nozzle fits through one side of the heater block rather than through the centre, so the block itself juts out a little bit. This is fine when it juts out away from x-carriage, but when I last ungunked the nozzle I had accidentally put it back on the wrong way round.
As a result the heater block was resting on the x-axis bearings. When I was screwing the nozzle assembly into the carriage I was putting a force on the x-carriage bearings, which put a bending moment on the x-carriage as a whole. When the nozzle heated up so did the bearings. Enough heat went into them to soften the x-carriage, which when combined with the bending moment bent the carriage and forced the jaws that were holding the belt open. With the jaws forced ever so slightly open, the belt would slip out of the carriage.
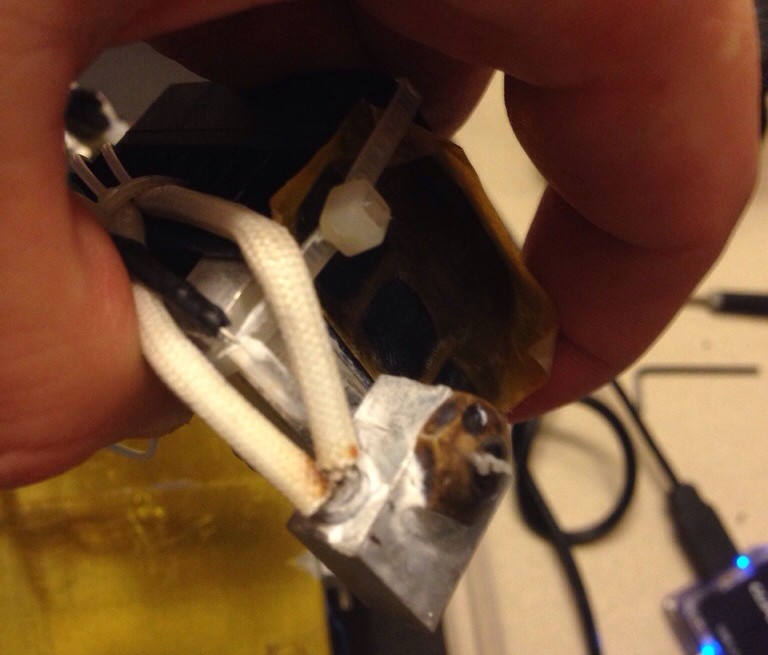
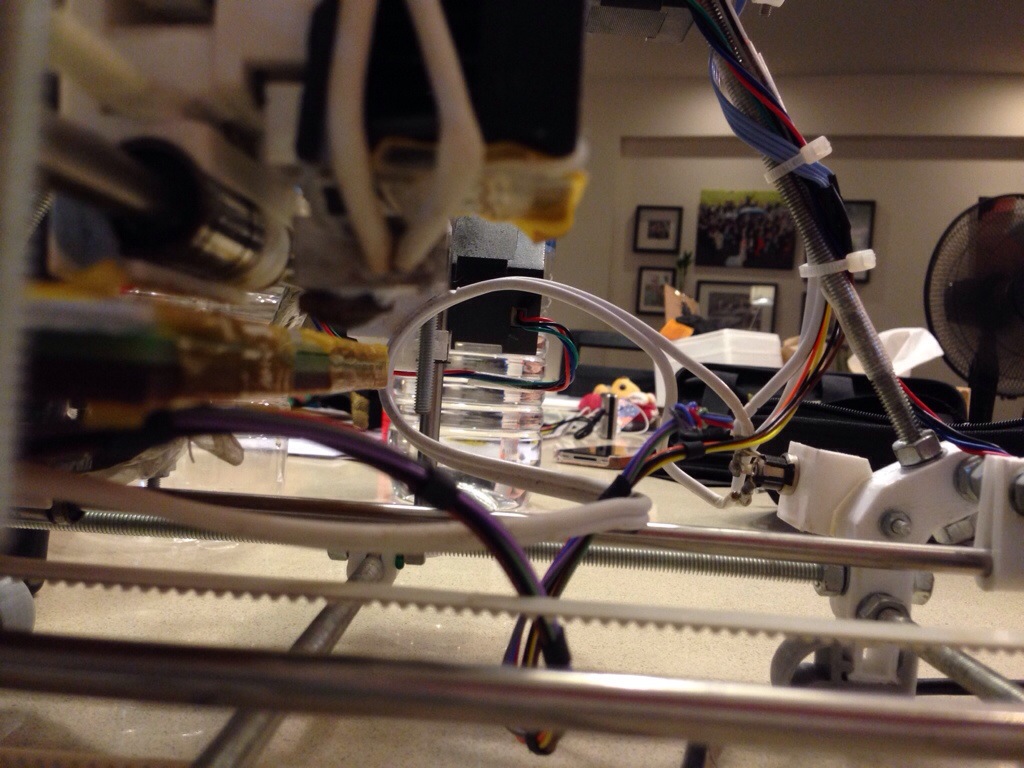
The satisfaction of working this out was almost enough to counterbalance the scolding I gave myself for installing it backwards. However, even though I knew what had gone wrong I was a bit stumped on how to fix it. I reinstalled the nozzle, but the carriage was still quite bent and I wasn’t sure how to unbend it. I thought of using the heater block to soften it, but given how overpowered it is I was a bit nervous about trying to use it for something like this.
The Wife came to rescue by suggesting the use of her hairdryer to soften the plastic before bending it. It required a bit of time to heat the carriage sufficiently but once it was hot it was quite easy to bend. It did cause the carriage to look a little bit more interesting – the perimeter layers softened to show the infill pattern underneath.
With the carriage unbent the belt has stayed put and I have been able to get a good bit of printing done this week. My absolute favourite print from the selection this week is one I saw in the last issue of MAKE magazine. It is an articulated elephant created by Le Fabshop. It prints without support in one piece. I set it going before going to work and came back to find a (almost) perfectly formed elephant waiting for me. We live in the future.
