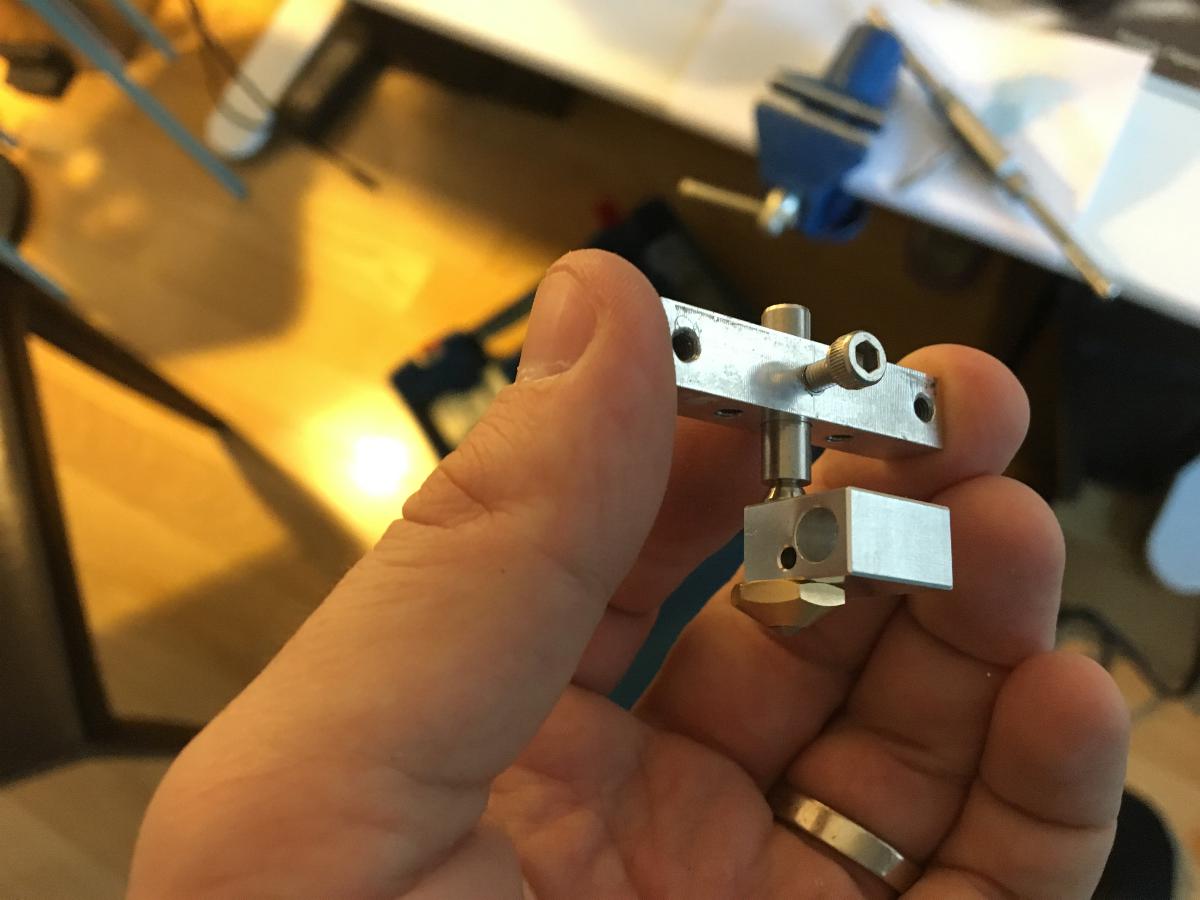
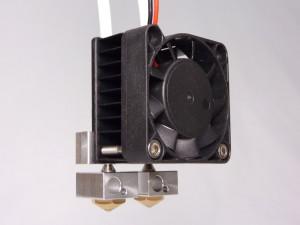
After my printer almost killed me I needed to get my hands on a new hotend. RepRapPro, which made my printer kit, has unfortunately closed down so I got a new nozzle, heater block, heatsink block, heater cartridge and thermistor from emaker.io. The nozzle is the new “quickset” design, which is clamped in place rather than screwed into the heatsink block. It’s also designed for a dual nozzle setup, so rather than having one central slot for a hotend it has one on either side. This dual setup requires a different design of x-carriage, which could be easily printed if one’s printer is not melted. Since mine was VERY melted I could have gone and used someone else’s printer, but that would have required leaving the house and possibly even social interaction, so I tried to think up a way of setting it up with the parts I had.
I solved the problem by drilling out the threaded hole in in my old heatsink block so that the quickset nozzle could slide into it snugly. Then I drilled and tapped a small perpendicular hole so that a M3 screw could be tightened on the nozzle to hold it in place.
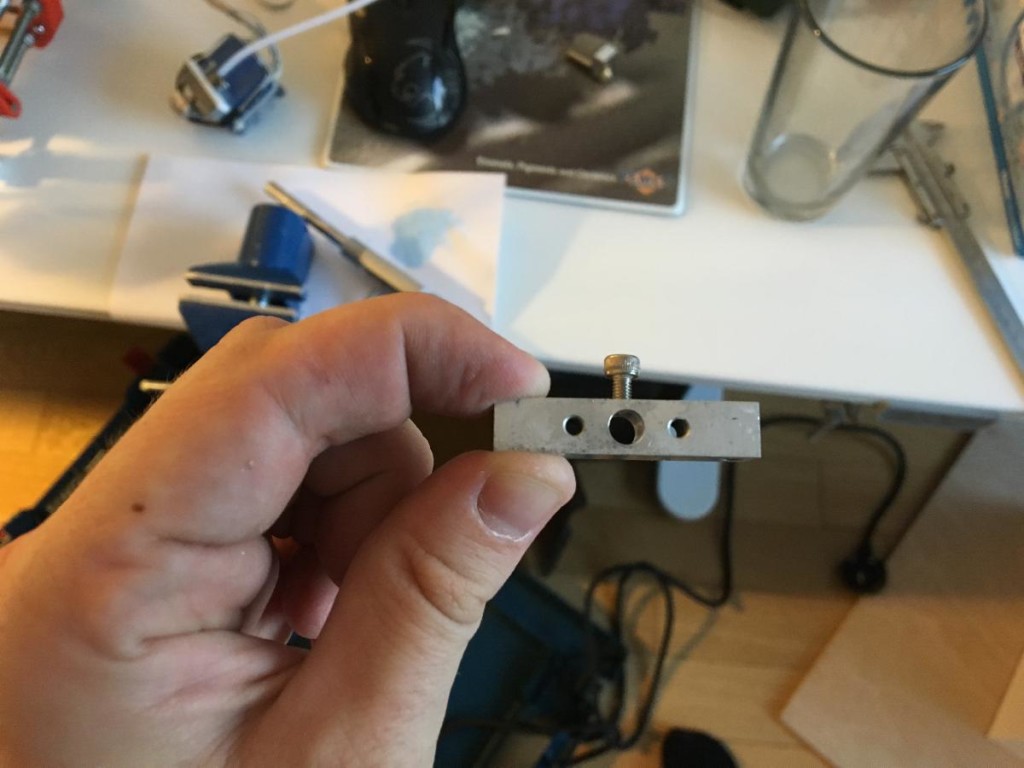

First time I did this I overtightened the screw and stripped the thread (very easy to do with a steel screw in aluminium). Fortunately I could just put another hole in the other side and forget it ever happened…
I was feeling pretty pleased with myself until I tried to actually extrude some plastic. It worked for a short while, but then very quickly started to make the horrible clicking sound that means the extruder’s knurled bolt has ground a groove into the filament and is no longer pushing it into the hotend. After this a couple of times I did a bit of googling and decided that the thermal gradient in the hotend was not right and that was causing the plastic to melt too far up, causing a plug that could not be pushed through the hotend. I solved the problem by sliding the nozzle closer to the heatsink block (which I would have done in the first place if I had read the new instructions properly…) and by adding a bit of thermal grease between the heatsink block and the fan. I was quite astounded by how much of a difference the thermal grease made. Before I put it on the heatsink block was hot to the touch, afterwards it was totally cool.
In theory I was then ready to print, but no matter how I set up my z distance the nozzle seemed to be too high above the print bed and wasn’t giving the nice “squashed” appearance of a good first layer. I’ve had a similar problem before, and that was caused by looseness in the attachment of the x axis. Sure enough, I found that I could wobble th x axis back and forth, which explained the crappy performance
I’m puzzled how the x-carriage got that way, I guess it just got worn. In future I would like to change the design so that it uses linear bearings rather than igus bushings which should be sturdier.
Fortunately I completed printing a full set of spare parts shortly before my printer melted, so I was able to replace the worn x-carriage parts without much trouble. This fixed the wobble. Adding these new parts now means that there are only 8 original printed parts on Squirty – the 6 frame vertices and the z motor mountings. Replacing these would be a huge pain, so I am going to leave them on until they break.
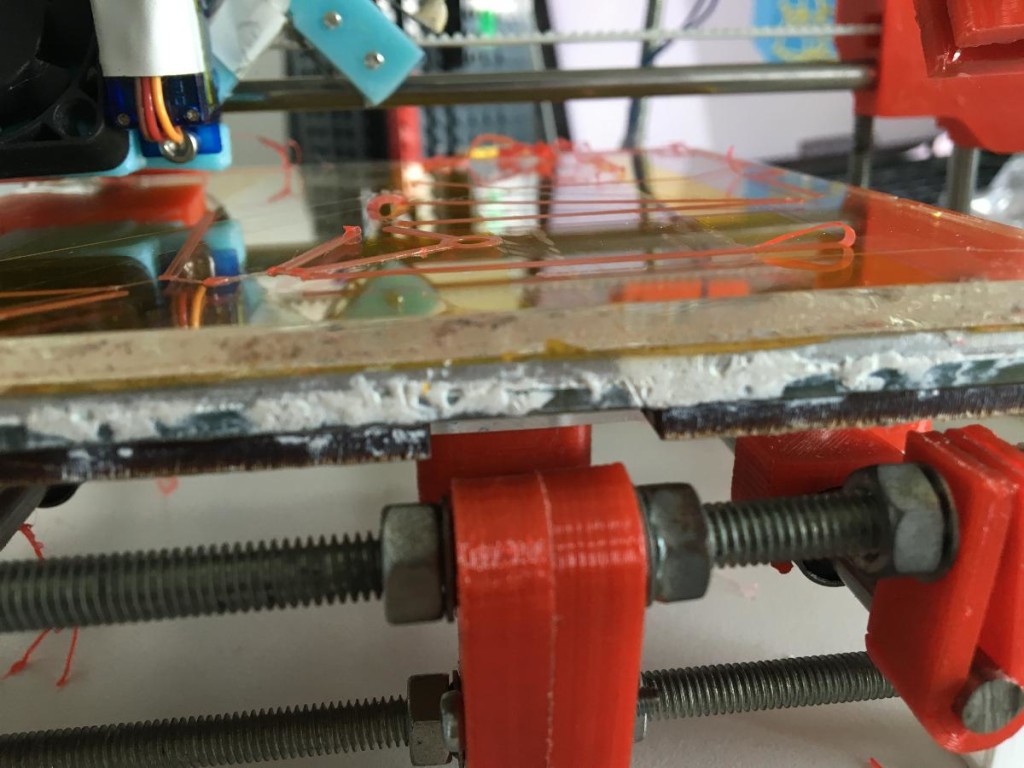
You’d think after all this work Squirty would behave itself and print properly, but I still had awful bed adhesion problems. I thought bed adhesion was something I had fixed a long time ago by moving to a heated borosilicate glass bed, but for some reason it doesn’t seem to to work the way it used to. After struggling for way too long I went back to the solution recommended to me when I was first assembling the printer – a quick spritz with extra strength hairspray. Maybe I can wean myself off the hairspray by finding a better way to clean the glass. Someone on the RepRap facebook group suggested that I need to clean the bed with window cleaner after I have used acetone on it to remove any residue.
Now that I can print things again I am going to build the safety electronics to cut off power to the printer next time it feels like going a bit melty.