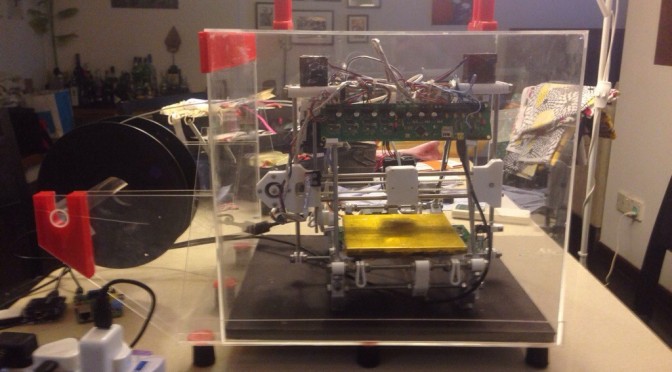
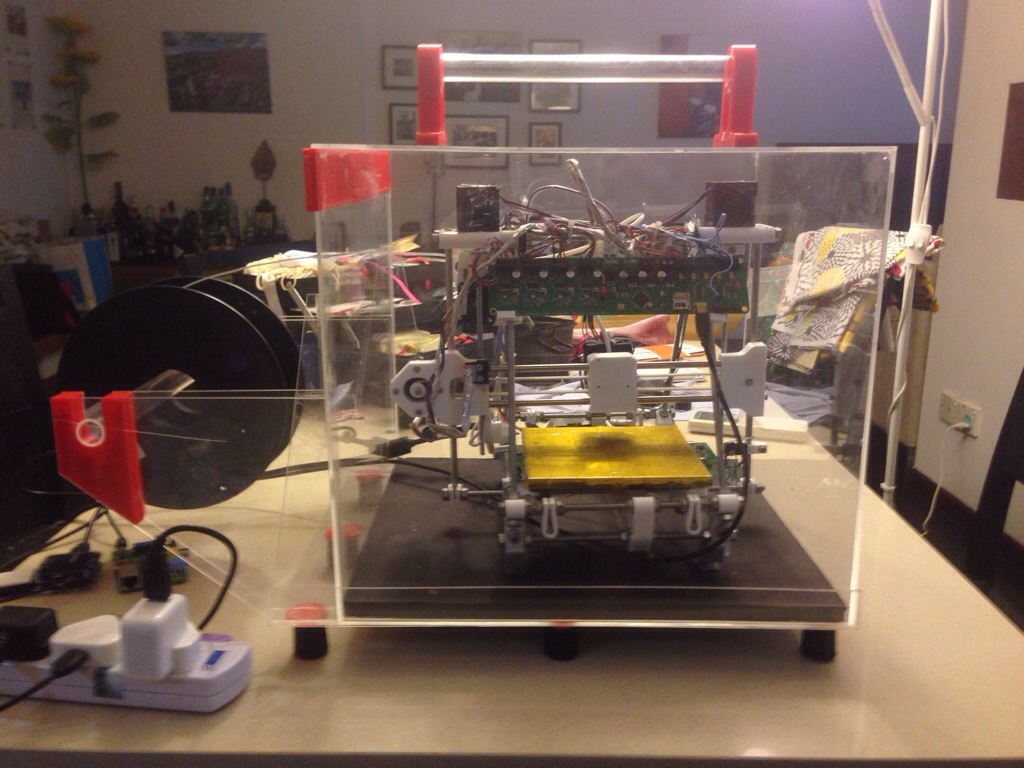
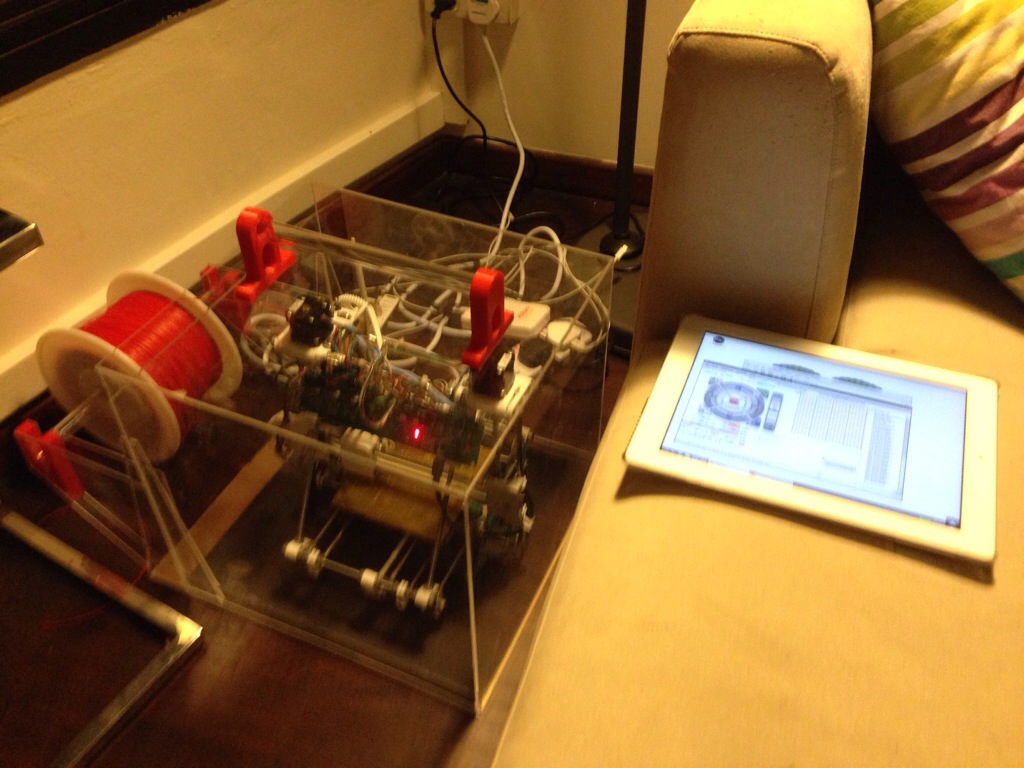
In my last post on stealth printing I described how I set up pronterface and VNC on a Raspberry Pi to control Squirty from an iPad. This lets me have the printer set up anywhere in the house rather than having it at my desk in the bedroom. Having it in the living room makes overnight prints possible but not ideal, as there is still quite a lot of noise from the stepper motors and fan. The solution is a case to cut down on noise, and to make the printer Look Cool.
The case is inspired/stolen from a design by Rob. The first stage was to daydream a bit about how it would be put together. Then I headed to Artfriend to pick up a lot of (surprisingly expensive) 3mm thick clear acrylic. Originally my plan was to have a 3D printed frame that the perspex fitted into, however at the shop I spotted that they had some solvent that welds acrylic sheet together. I decided that I would use this to create a frameless design. I also picked up an acrylic cutting knife. I was assuming I would have to hacksaw the case pieces, but it turns out that you can cut it quite easily with a specially designed blade.
I drew up most of the case in Sketchup, where I made the pleasant discovery that someone has already created a 3D model of a Huxley frame that you can import into the program. I started off thinking that it would have a hinged lid. The Wife then asked why I don’t make it more like a sewing machine case – i.e. it lifts off in one piece. I patiently explained that such a thing is impossible because the filament needs to come in midway at one side. I then realised that the filament only needs to come in on one side so it is perfectly possible to make a lift off case as long as one side is attached to the base. The Wife is always Right!

After drawing the case in sketchup I started planning out how to cut the perspex sheet up. I actually found scaled shapes in powerpoint slides the easiest way to do this, but that might be because I am overly familiar with the program. Cutting out the pieces with a knife is less labour intensive and less error-prone than using a hacksaw, but it is still bit of a workout in Singapore heat. Also the perspex bits get everywhere. The smart thing to do is to bring the vacuum cleaner in first so you can clean up as you go along (as a man this philosophy is totally alien to me, but with practice it starts to make sense).
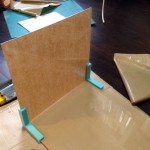
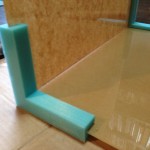
To glue the pieces together you need some way of holding big perspex sheets at 90 degrees to each other while you apply the solvent. Hmmm… if only it were possible to make some kind of custom jig with 3mm slots to hold the sheets. Silly idea really, it would be difficult to make such a jig without access to machine tools… …hang on a minute
Despite my best efforts not all the joins were quite perpendicular and I ended up with some slight gaps where the lid met the base. My Dad volunteered to help here and managed to get a nice snug fit by cutting and filing the lid slightly. Most important learning point from this process – double check that you are looking at the right side before you start to file.
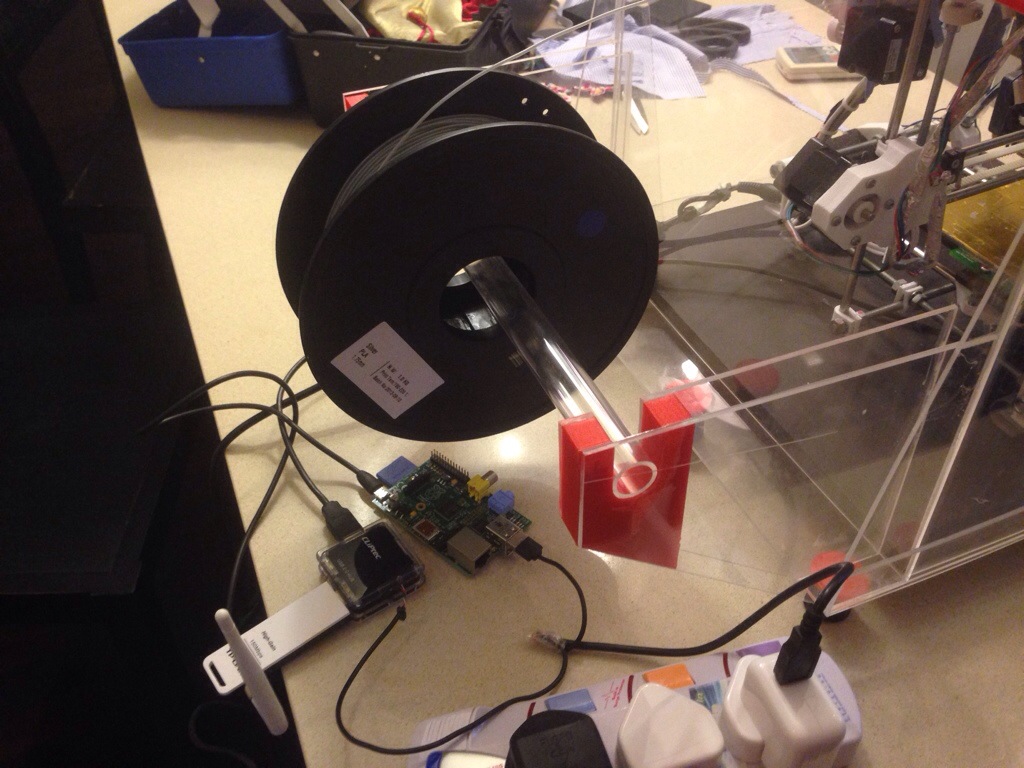
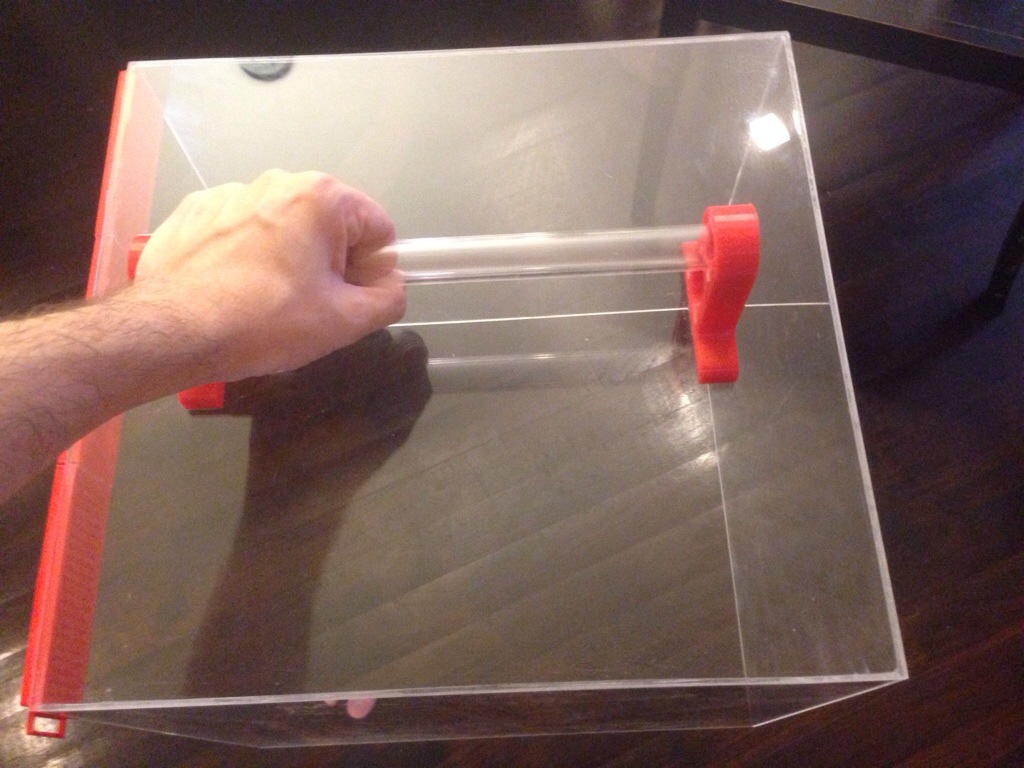
As usual while constructing the case I couldn’t help but think of lots of “improvements” that increase the total amount of work to do at roughly the same rate at which I got the original scope of work completed. The main enhancements were a spool holder and a handle for the lid.
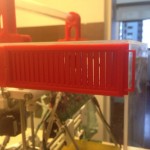
I also needed to think about ventilation. With all the heating going on at the printer I was nervous about sticking it in an unventilated box, but I also didn’t want to remove the sound proofing by sticking big holes in it. I settled on two small adjustable vents at the top of the case. The vent vanes are steeply angled so that there is no direct path for sound to go from the motors to the outside world. They are made up of two sets of vanes – one static and one sliding. This means they can be adjusted by sliding one set of vanes so that they block off the holes in the other. They appear to be totally unnecessary. Whether they are closed or open the case does not get even slightly warm – I think there is enough heat loss through the sides of the case to keep it cool. It could also be that the rather messy hole I cut for the power and data cables to go into the case provides enough ventilation.
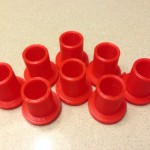
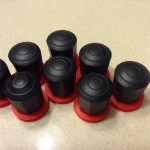
The base of the case was one big sheet of perspex, but that meant it was difficult to pick the whole thing up. I made some feet and covered them with little booties designed for stopping furniture scratching your floor.
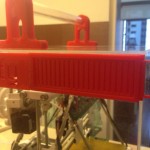
The final touch for this round of modifications was something to fill the gap between the two vents at the top. I settled on a little name plate made by sandwiching some perspex between two bits of printed PLA.

For all the PLA parts I found that I could stick them to the perspex very securely using the same solvent that welds the perspex sheets. The bond on the handles is sufficient to take the whole weight of the lid. Maybe this solvent could also smooth out the lines on PLA prints much like acetone does for ABS? I don’t know what its name is though – it’s just sold as perspex glue.
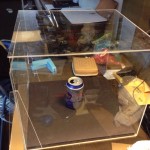
The case blocks out most of the sound of printing. A few times I have come into the living room and wondered what has gone wrong with the print as I couldn’t hear any noise at all, but when I went to the printer I found it working away merrily behind the perspex walls.
The case also has the unexpected benefit of keeping lizard crap from falling on the printer. Lizards (aka cicak) are a constant nuisance in any room where you leave the windows open. I thought they were very cute when I first moved to south east asia, but when you realise that they merrily dump on your walls and floors they become less endearing. I shook my fist at them in silent rage when I wiped some poo off the case, but best that it falls on the case rather than on the print bed.

Learning points from the project
- It’s very difficult to get 90 degree joins, you need to plan on how you will finish the parts to make them fit properly
- The perspex solvent sounds like a great idea because it wicks into the join between two sheets. However this only works well if the edge of the sheet is cut off straight. This is difficult using the perspex knife because the approach is to cut most of the way through and then snap it, which leaves an slightly uneven edge that must be filed
- Vents may not be necessary (but let me check again after blocking up the hole for the wires)
- I need to take my time and not try to do too much in one sitting, otherwise I get sloppy, slip with the knife and leave a horrible scar on my otherwise perfect perspex

- Brasso takes out shallow scratches in perspex really well
Next steps
The silenced printer is going to be the other project that I exhibit at Singapore Mini Maker Faire (along with Beer Bot). However, having seen some of the many other 3D printers that are around in Singapore at the Maker Block this weekend I think Squirty is going to look a bit outdated. Simplifi3D has a very impressive range of printers including a Kossel delta design and a Singapore grown Portabee Go. The Portabee Go looks like something Steve Jobs designed and has a very smart leveling system. Hopefully Squirty’s iPad control will at least be quite novel. It was interesting going to Maker Block – there is a lot of COOL stuff going on in Singapore that I should get more involved in rather than working away on my own little projects.
Anyway – list of improvements:
- A power supply for the Raspberry Pi that can leech off the RepRap’s power supply. The Raspberry Pi has quite meaty current demands (3A is safe when you include the wireless dongle etc.) so I don’t want to take 5V off the Melzi board. Instead it would be good to find a way of converting the 19V DC input to 5V in a way that doesn’t waste a lot of power. I have done some initial experiments with a switching regulator but they were not very encouraging
- Holder for the pi and the hub that are mounted on the side of the case
- Adaptor for the spool holder that fits in the spools and centres them on the perspex tube to make them turn a bit more easily
- Flap of some kind for the cables to go through to cut down further on noise (and to cover up one of scratches I made – d’oh!)
- Camera attachment for the pi that can be used to either read the dial gauge or to watch the nozzle close up over a video stream
- Integrated features for the case controlled by the pi e.g. a light, auto shut off connected to smoke detector
- (Big stretch) An SD Card Reader/Writer that is connected to the Pi and the Melzi board along with the electronics to switch connection for the card between the Melzi and the card reader. That way you could write files to the SD card over the network at a decent speed rather than having to pick out the card and take it to the computer